


Why is udder health important?
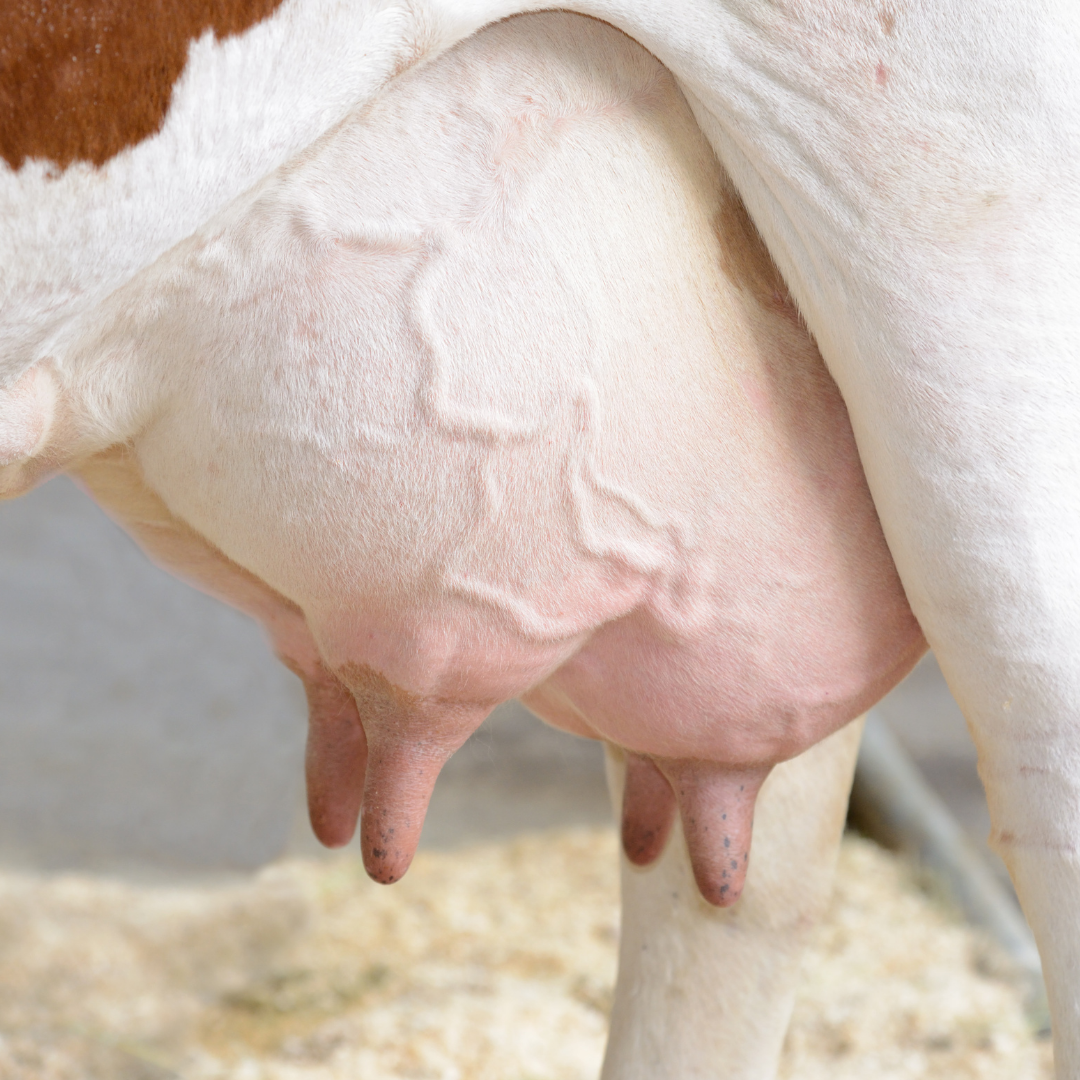
A healthy udder is the foundation of animal welfare and productivity, and is therefore a key factor in the profitability of a dairy farm.
Inflammation of the udder is known as mastitis and occurs when pathogenic organisms (mastitis-causing agents = bacteria, fungi and algae) manage to penetrate the udder and damage the udder tissue from within.
Mastitis (inflammation of the udder) is one of the most significant diseases affecting dairy cows.
Cows with udder diseases produce milk of inferior quality or milk that is unfit for consumption, thereby losing their practical value. They also produce significantly less milk than cows with healthy udders and therefore lose their economic value.
Mastitis
Causes
Mastitis is primarily caused by the invasion and damaging effects of mastitis-causing pathogens.
As with any multifactorial disease, the balance between pathogen pressure and the cow’s immune response determines whether and to what extent a cow, or a specific udder quarter, becomes diseased following contact with such infectious agents.
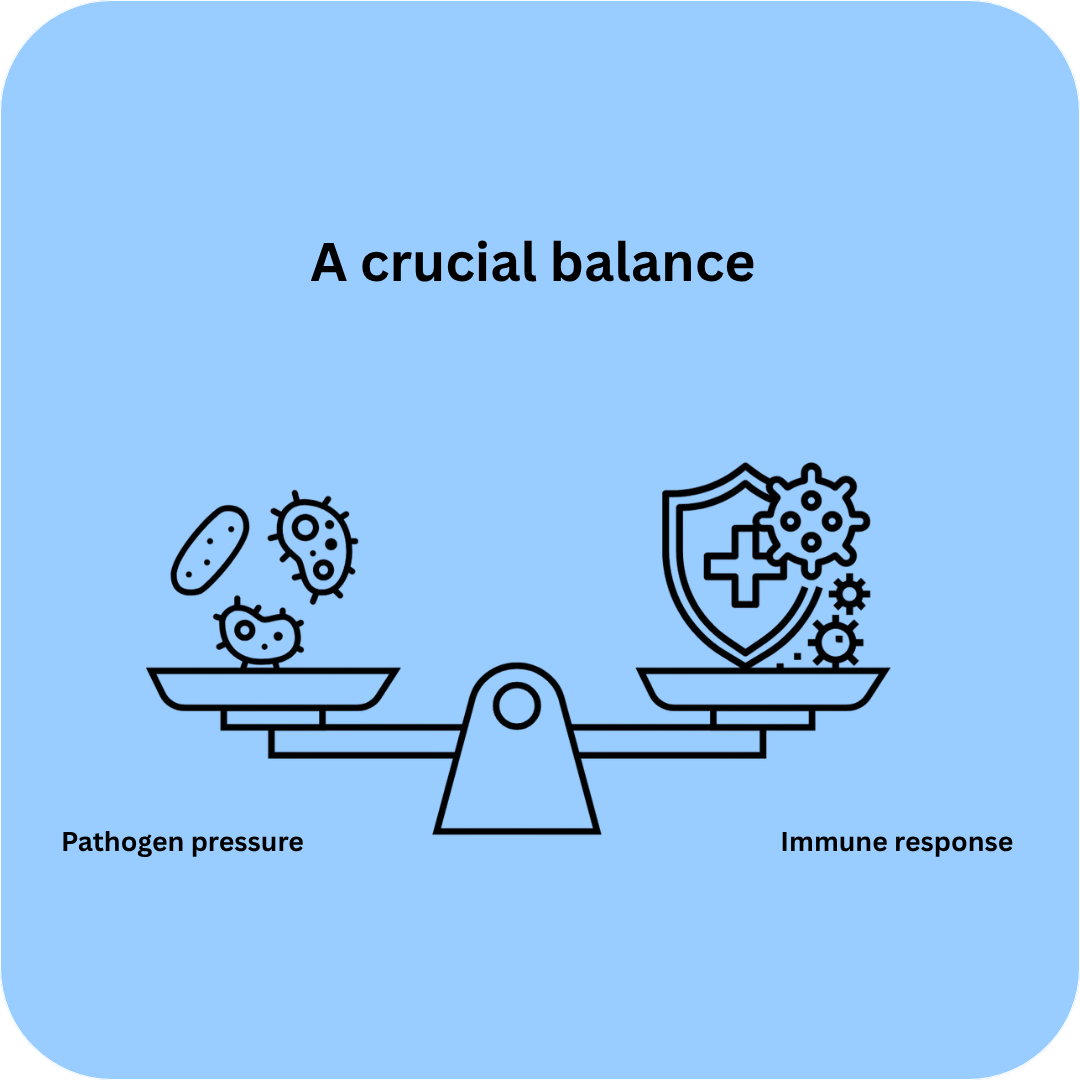
Note: Clean housing, a diet suitable for ruminants, and optimal milking routines and hygiene are therefore essential for good udder health.
Types & severity
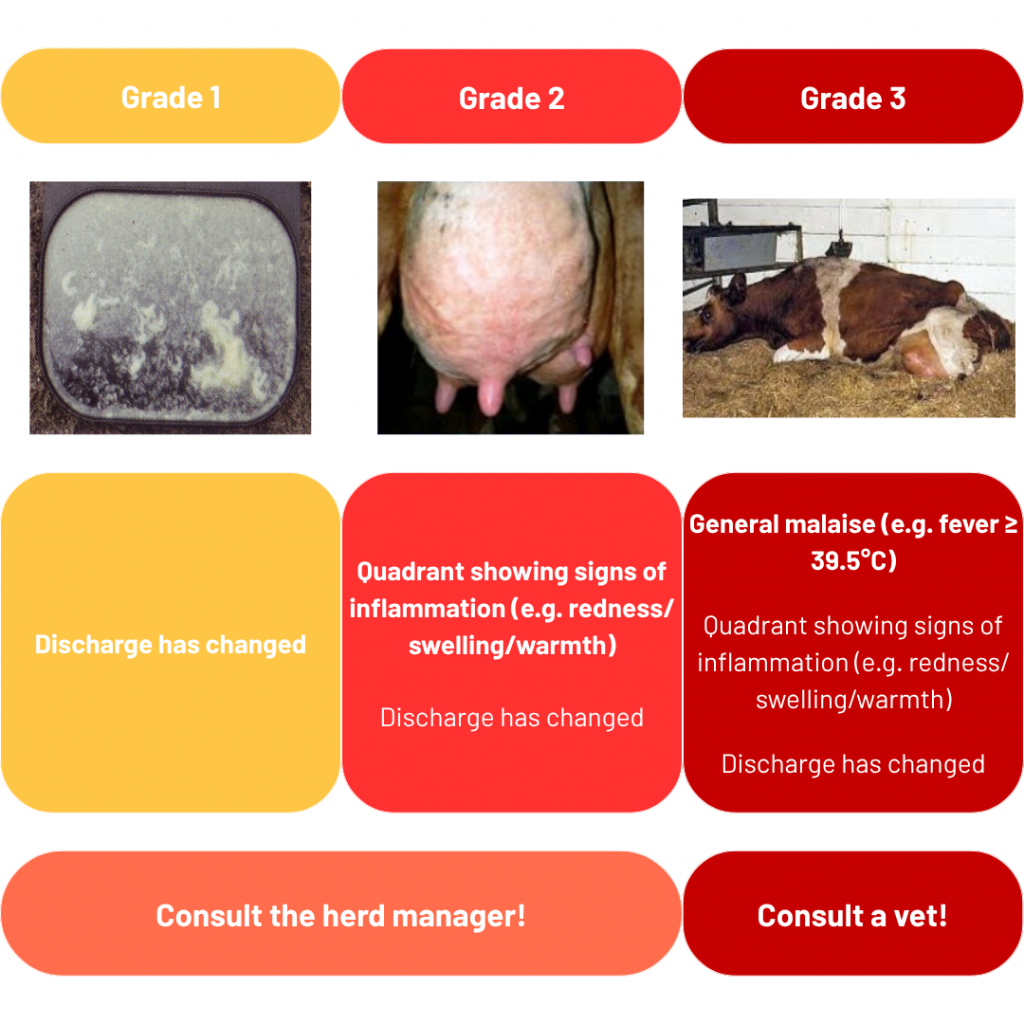
Not all cases of mastitis are the same – a distinction is made between clinical and subclinical mastitis, and the severity of udder inflammation is classified into grades 1 to 3.
Clinical mastitis: The milk is altered, as evidenced by changes in colour and/or consistency

Subclinical mastitis: The milk appears normal, but it already contains an increased number of immune cells from the blood that are fighting bacteria that have entered the udder
The milk looks normal, and the inflammation can be detected only with the aid of diagnostic tools
It is important to be aware of the three stages of clinical mastitis to help guide treatment decisions!
California Mastitis Test
Instructions
- Express milk into the wells of the test tray (one test well per quarter)
- Pour milk up to the mark
- Add approximately the same amount of test fluid
- Mix by swirling the test tray and read the result immediately
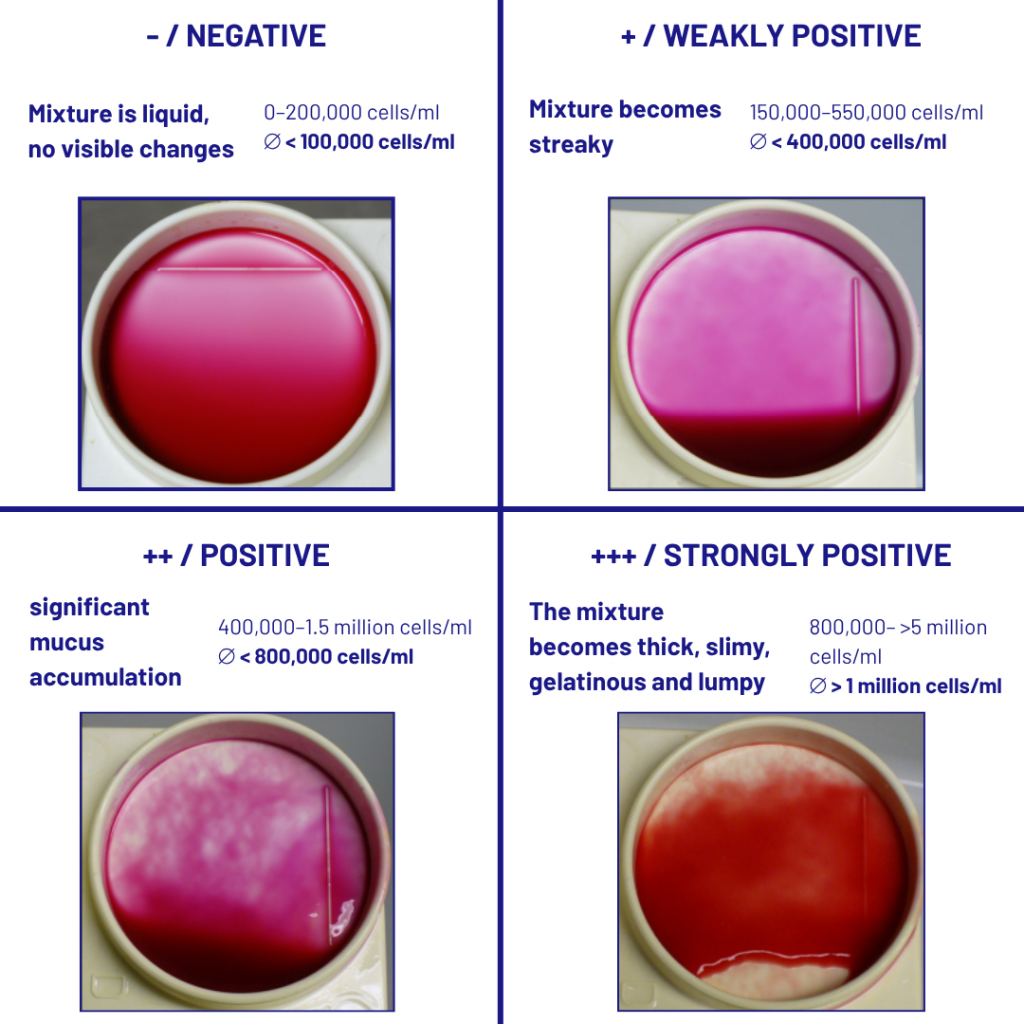
Der Test reagiert mit einem Farbumschlag und einer Änderung der Viskosität der Flüssigkeit. Je intensiver der Farbumschlag und je gallertiger das Gemisch aus Milch und Testflüssigkeit wird, umso mehr Zellen sind in der Milch.
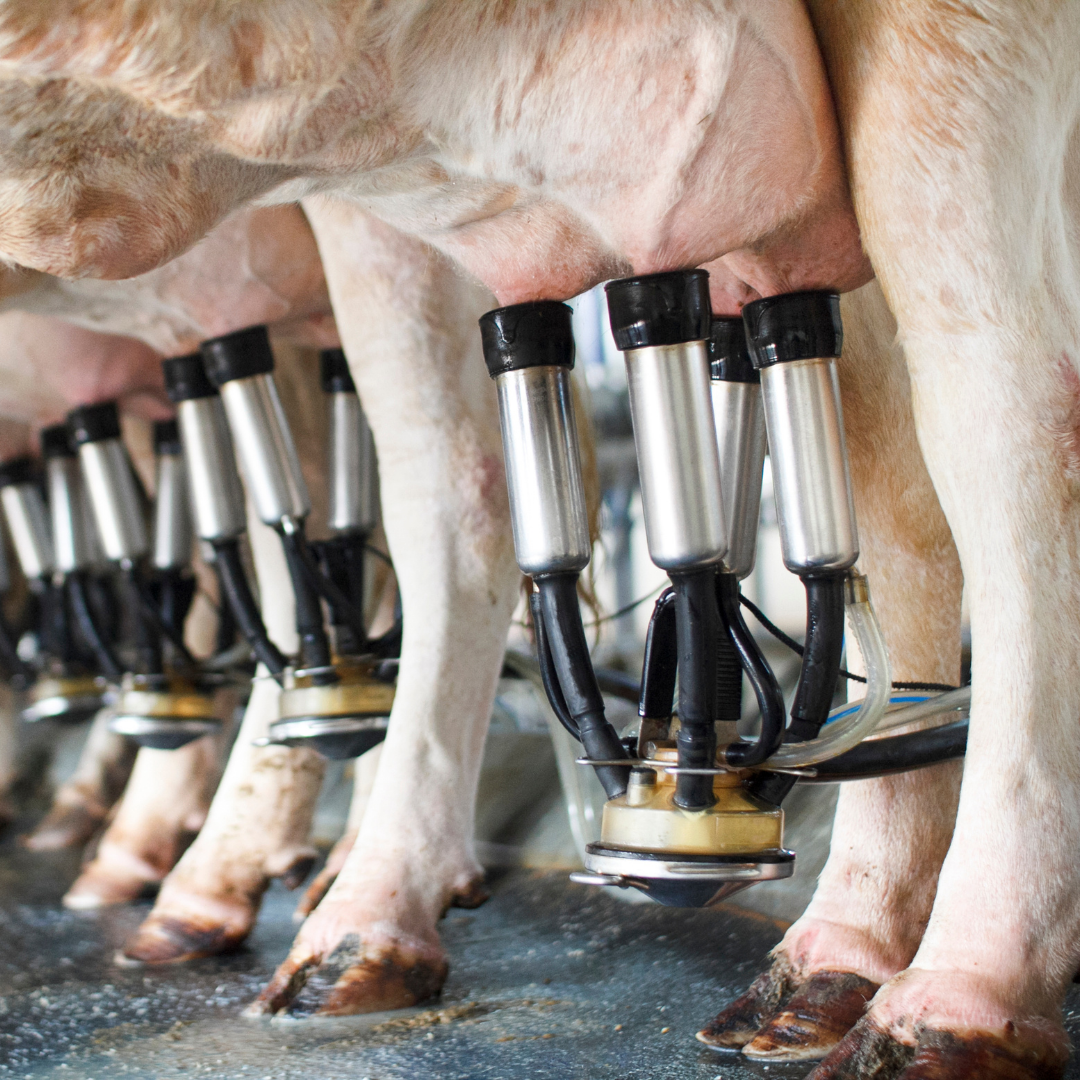
Milking
Milking is a key factor in udder health and milk quality. Care should be taken to ensure that animals are handled in a stress-free manner and that good milking routines and hygiene are maintained.


Source: RGD BW
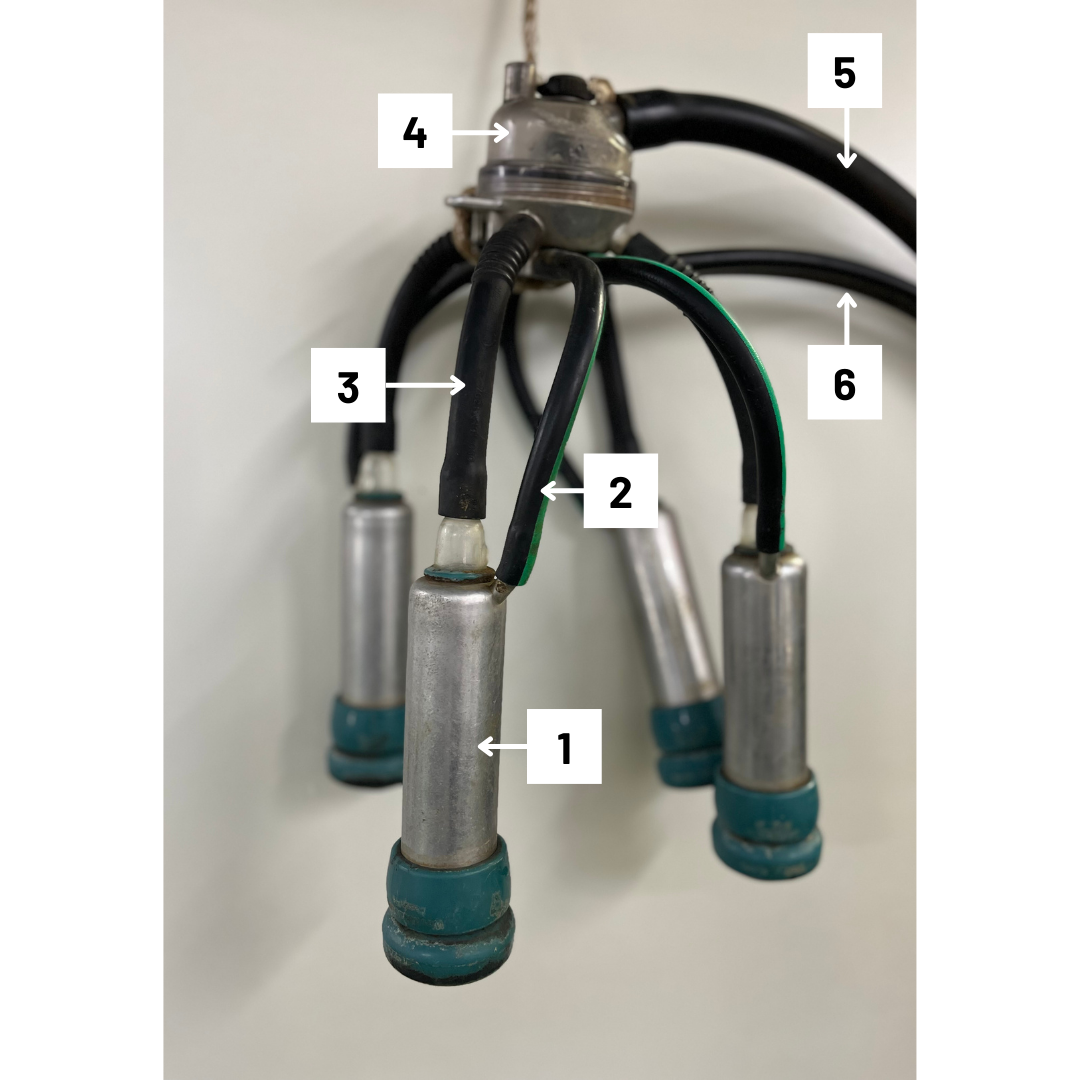
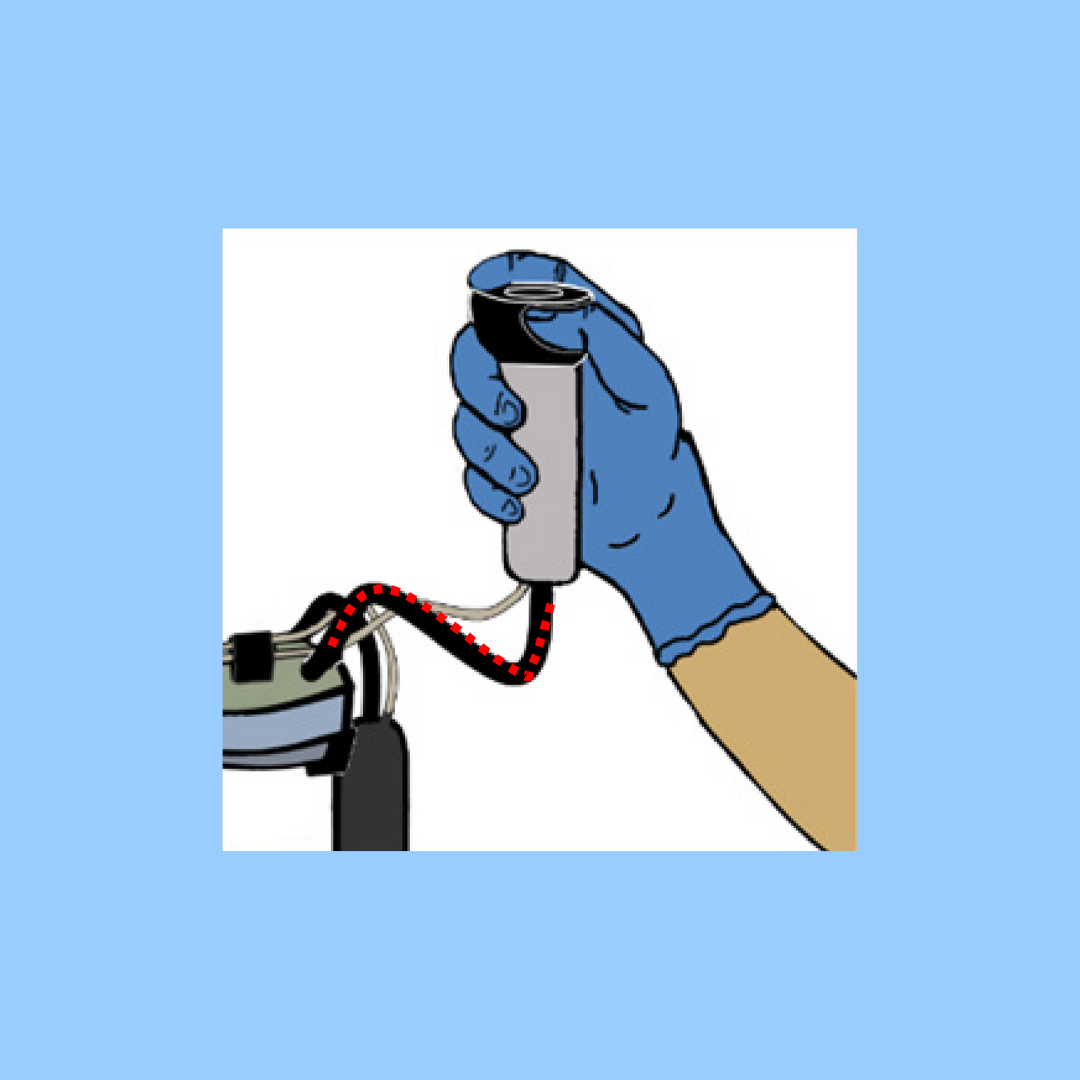
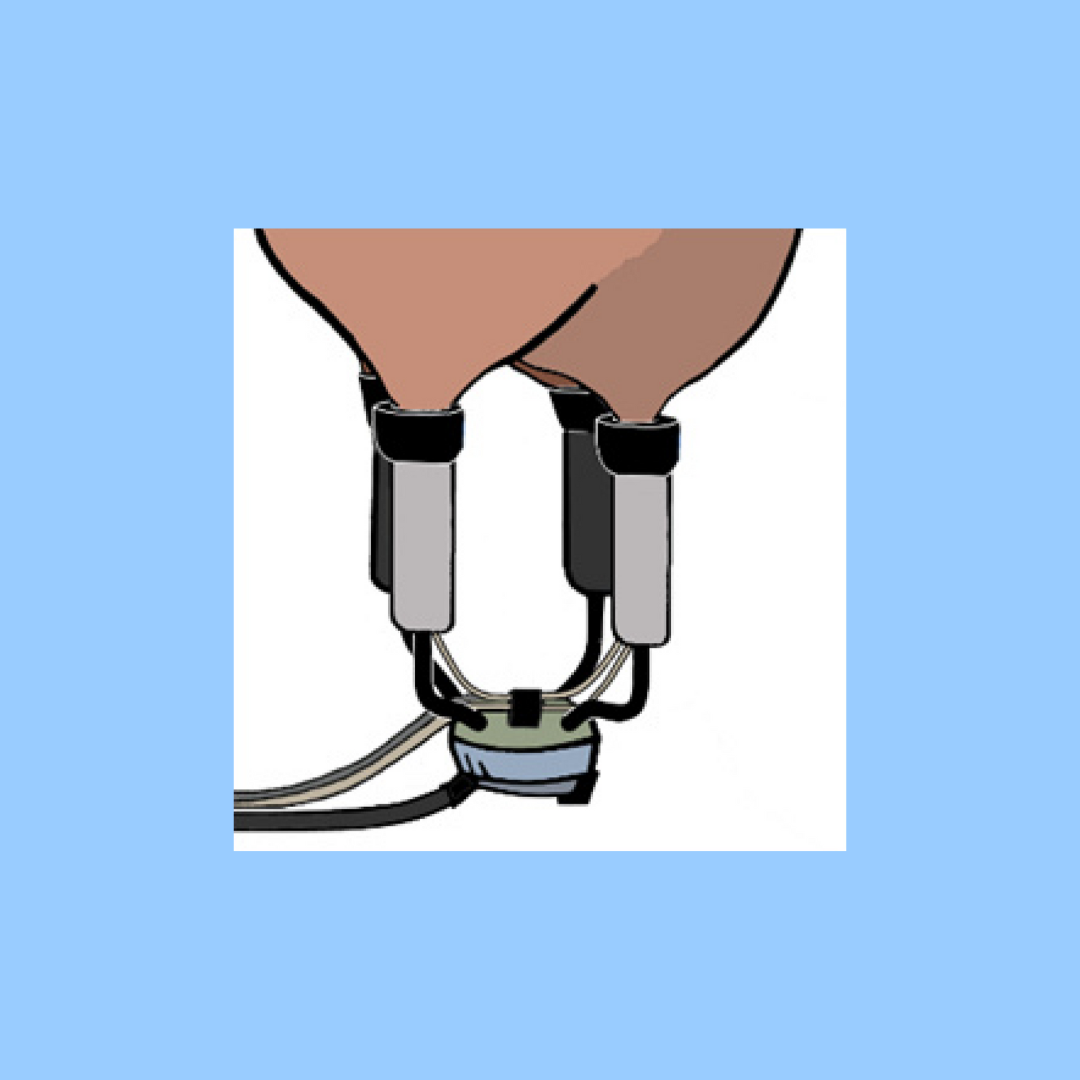
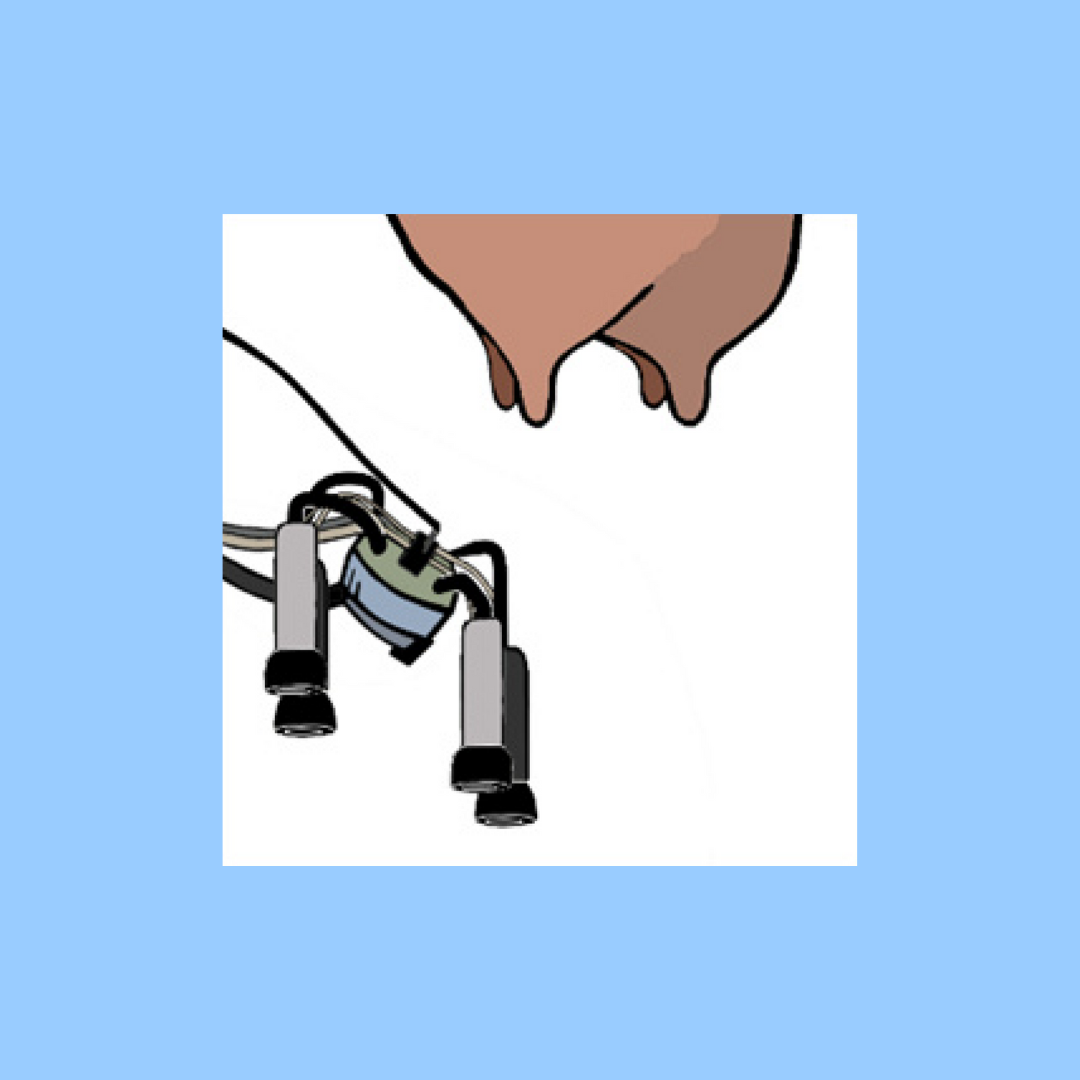
Structure and function of the milking cluster
1 milking cup
2 short vacuum hose
3 short milk hose
4 collector
5 long milk hose
6 long vacuum hose
During machine milking, a negative pressure (milking vacuum) is created beneath the teat via milk hoses and teat cups during the suction phase, thereby overcoming the resistance of the sphincter muscle.
The milk flows out through the open teat canal. During the release phase, the vacuum is interrupted by the collapsing teat cups and the teat end is massaged.

Important
The teat cup comes into direct contact with the teat skin when the teat canal is open and therefore poses a risk of contamination!
Its elasticity is crucial for a gentle milking process. The teat cup must therefore always be clean and elastic and replaced in accordance with the manufacturer’s instructions.
How does the cow get to where it is milked?
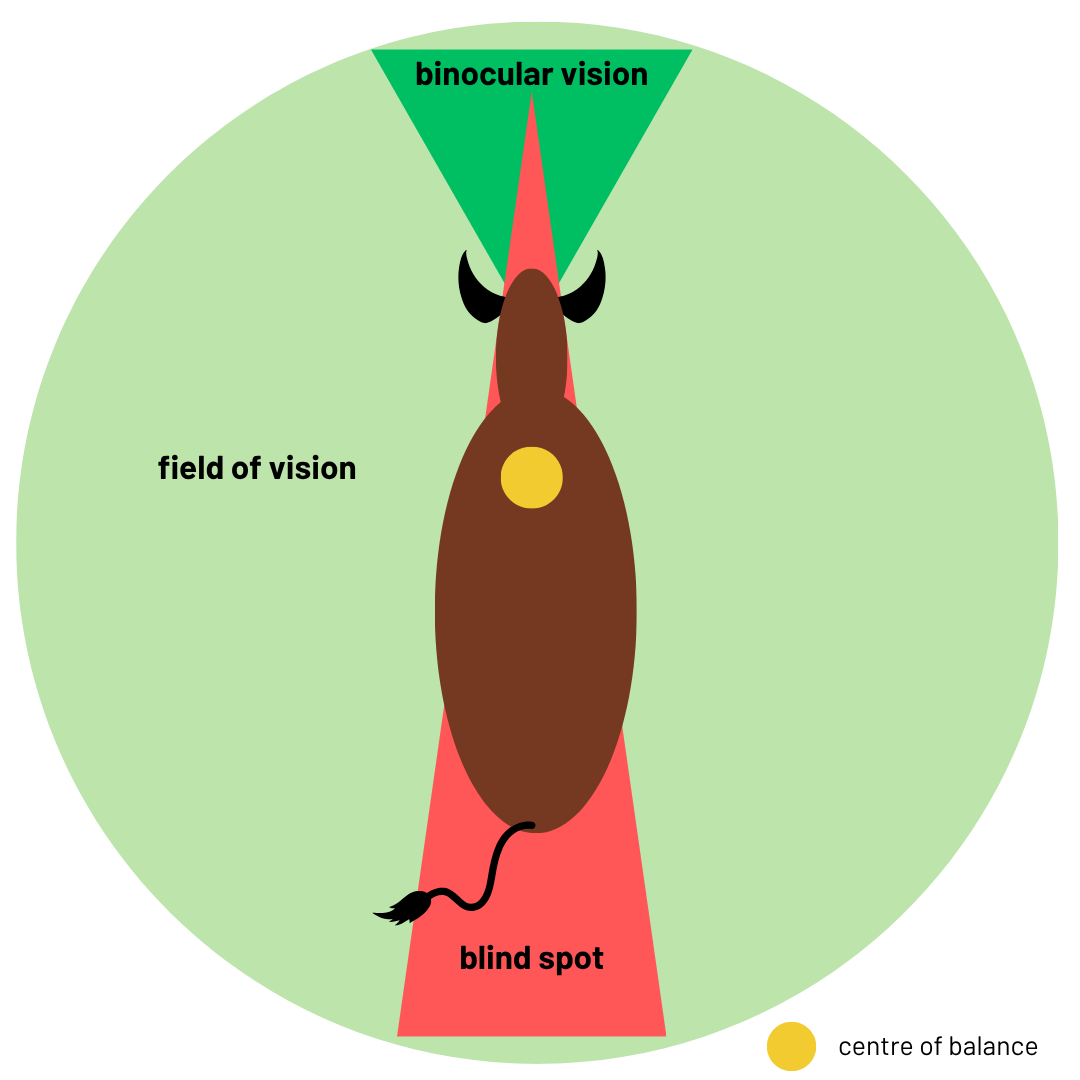
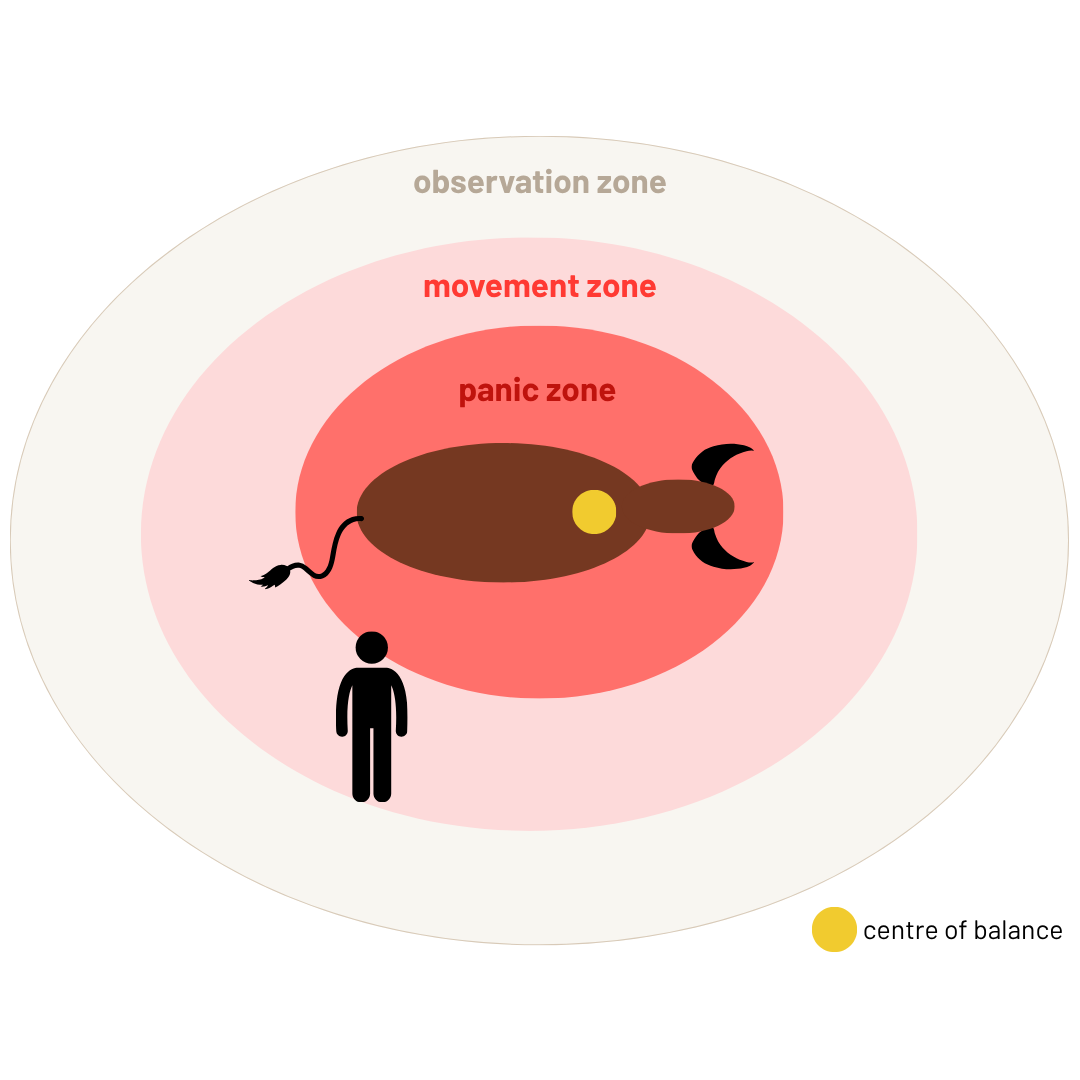
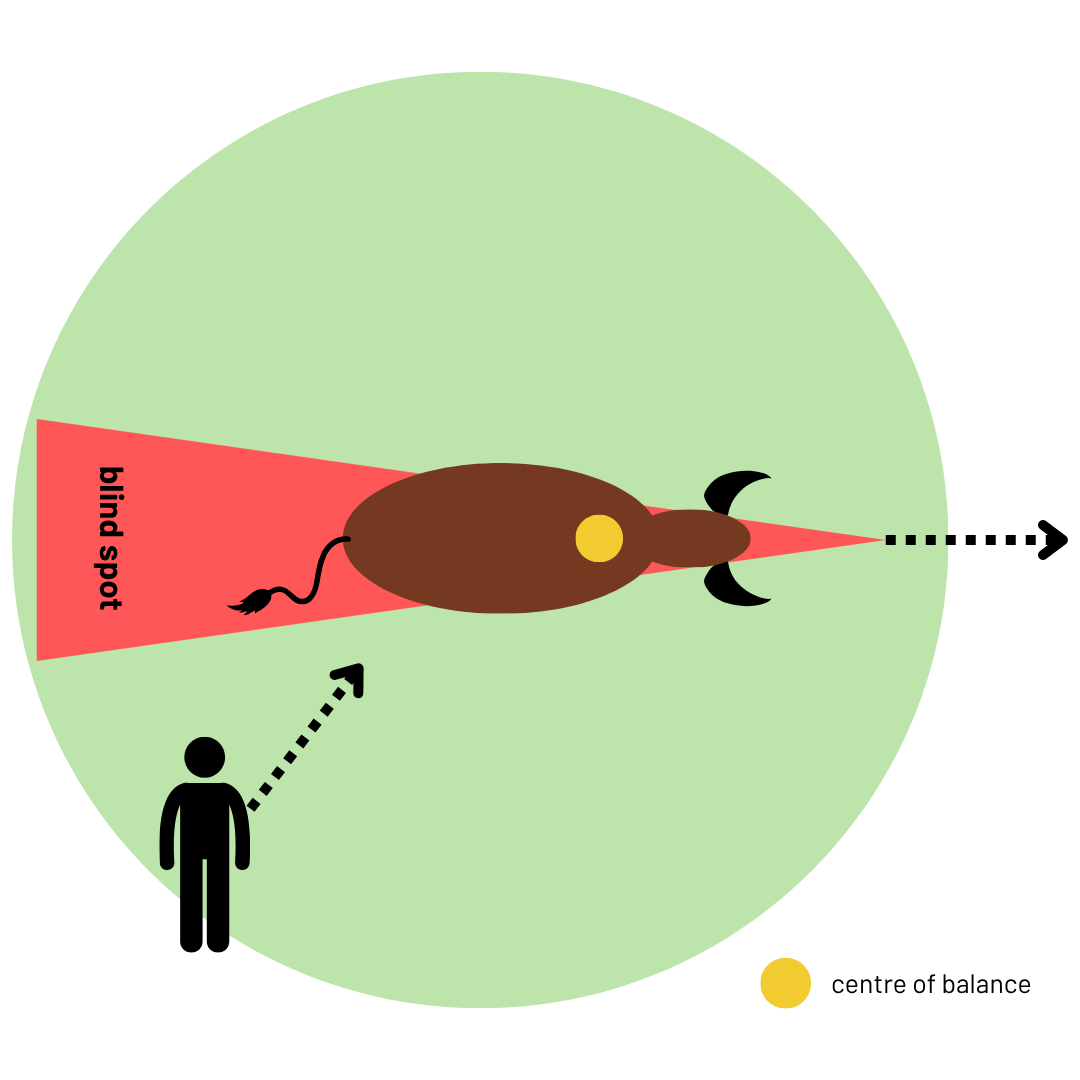
A calm approach is important, as only a relaxed cow will yield milk easily and allow for swift milking.
A positive side effect: less soiling in the milking parlour and fewer defensive movements.
Milking – Preparation
Regardless of how thoroughly the teats are pre-cleaned, the time from the first manual contact to the attachment of the milking clusters (when milking without auto-stimulation) should be between 60 and 90 seconds.
Additional information: This time is needed so that, following the tactile stimulus to the teats, the hormone oxytocin released by the pituitary gland can travel via the bloodstream to the udder, where it ensures that the milk can be expressed quickly.
Milking – what, when and how?
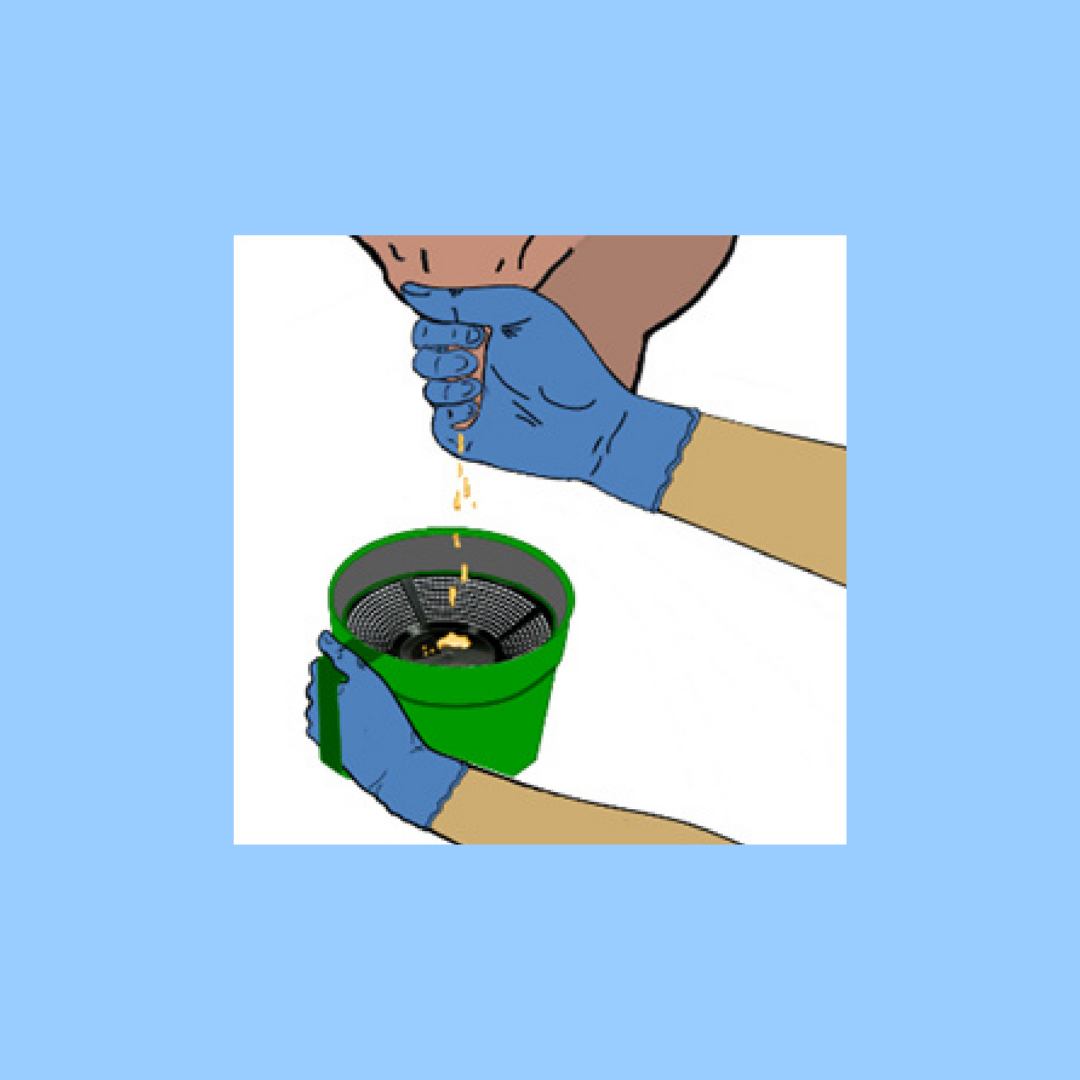
Preparation and getting started
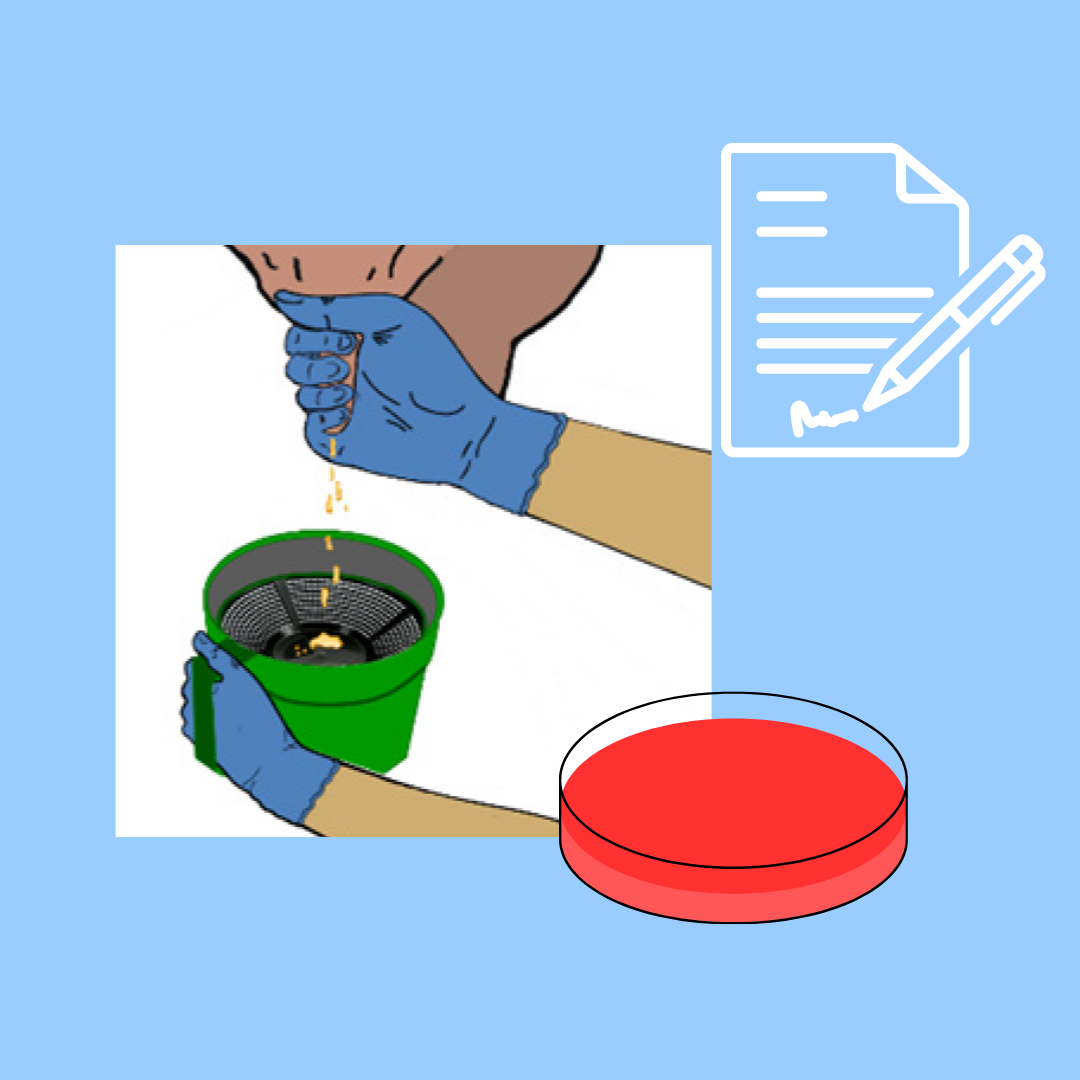
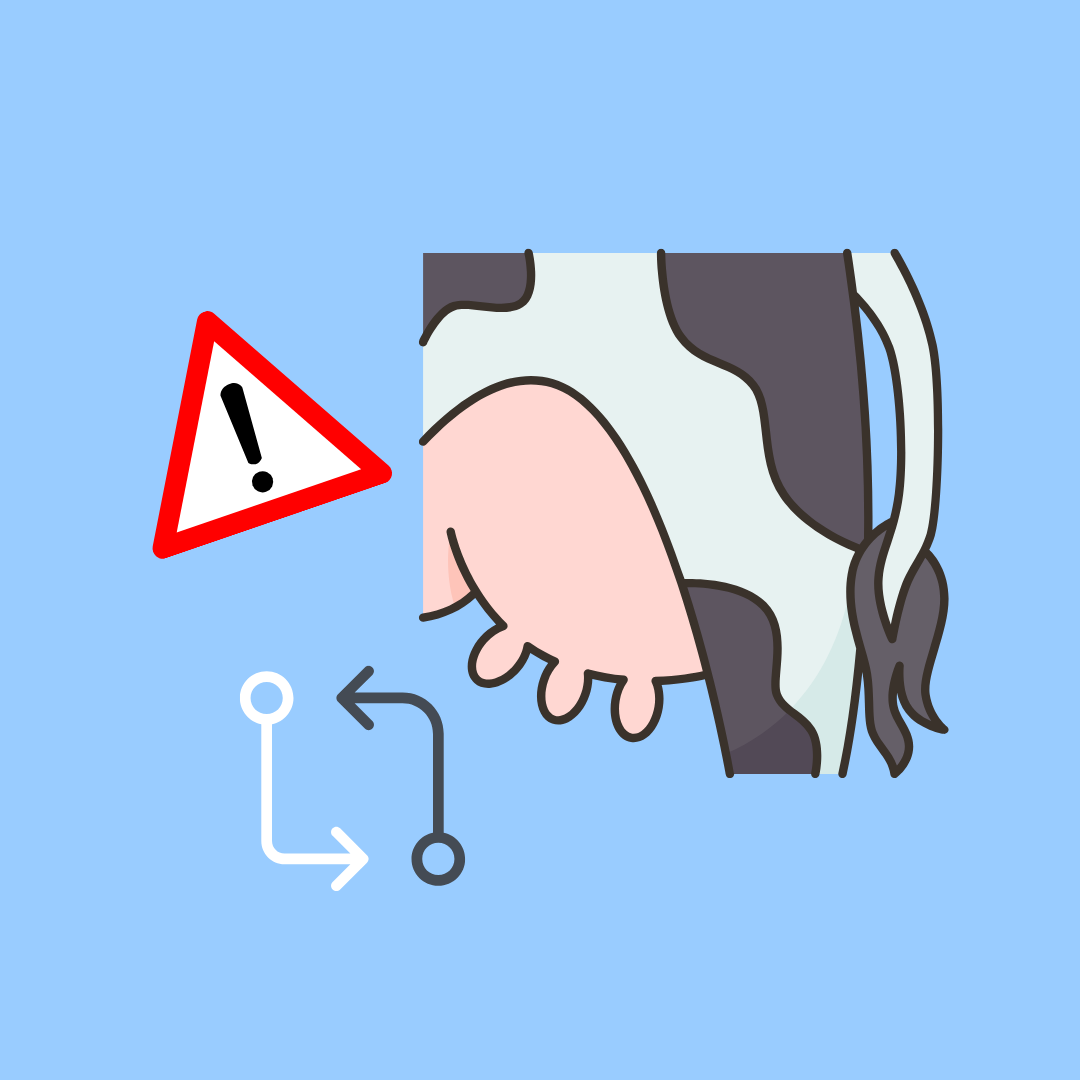
Pre-milking into the pre-milking cup
After making tactile contact with the cow, a preliminary milking is carried out to detect clinical mastitis and, if possible, to reject the milk.
If necessary, document any abnormalities and reject the milk
Milk extraction
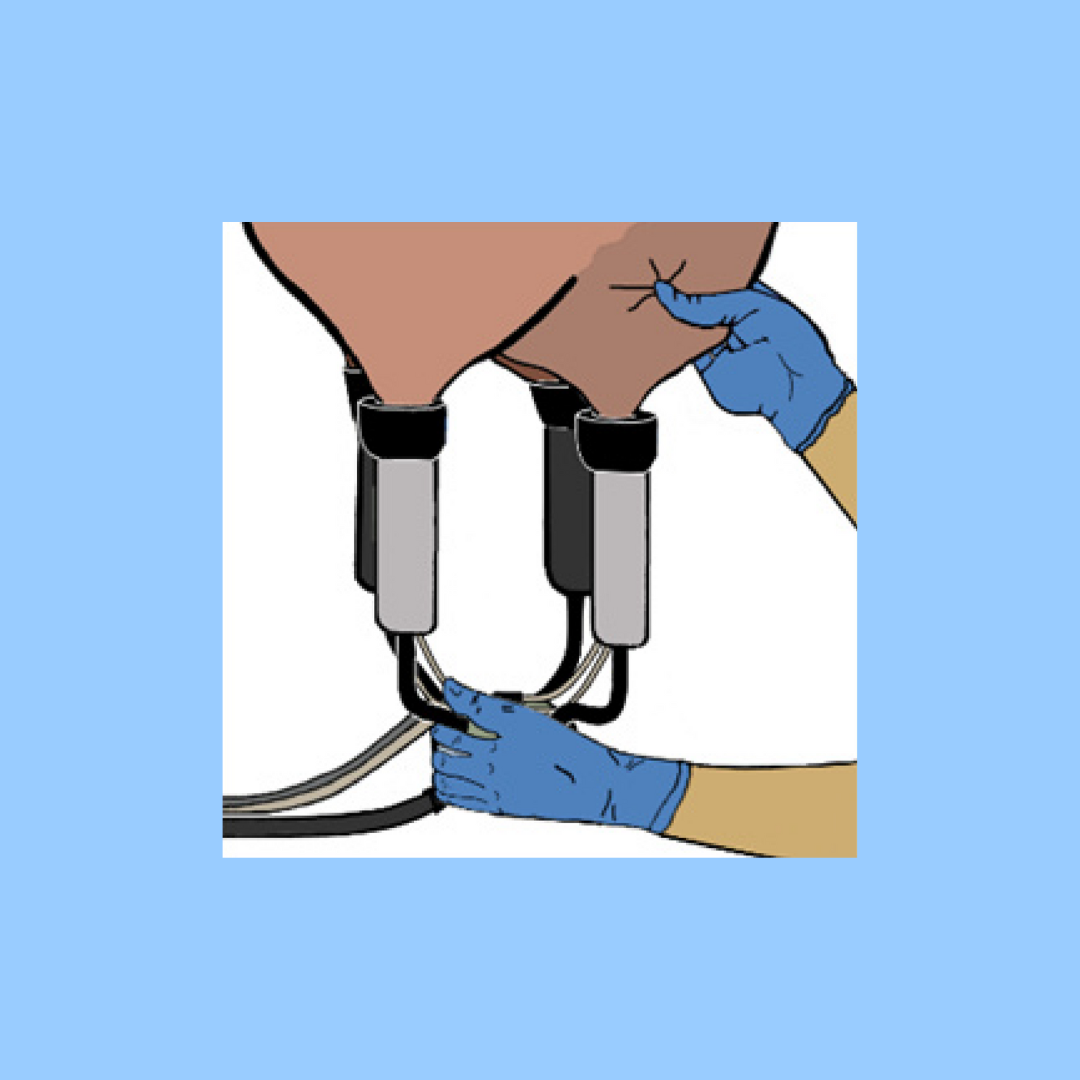
The milking cluster is removed; if necessary, the vacuum is shut off beforehand, and once the pressure has dropped, the cluster is gently pulled away.

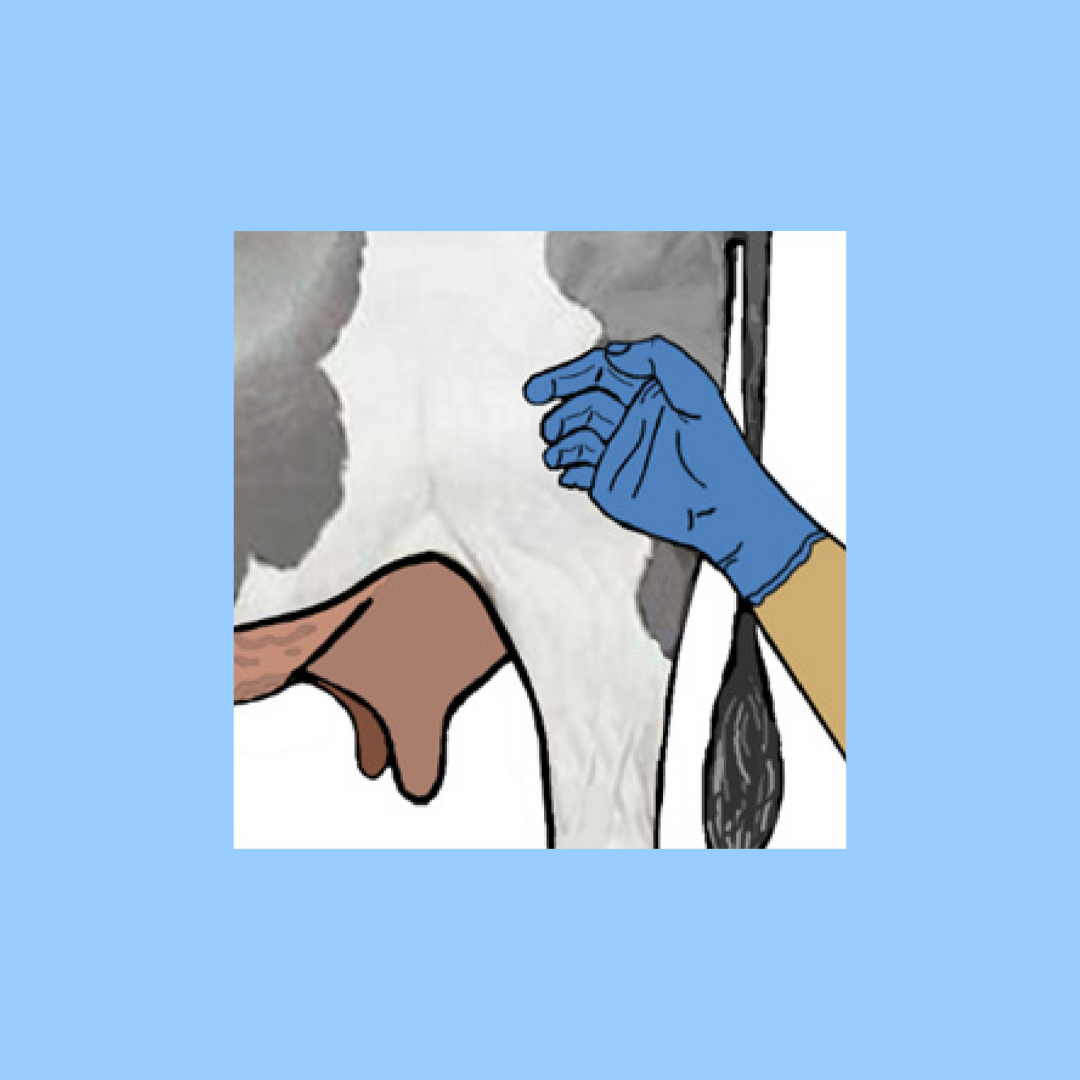
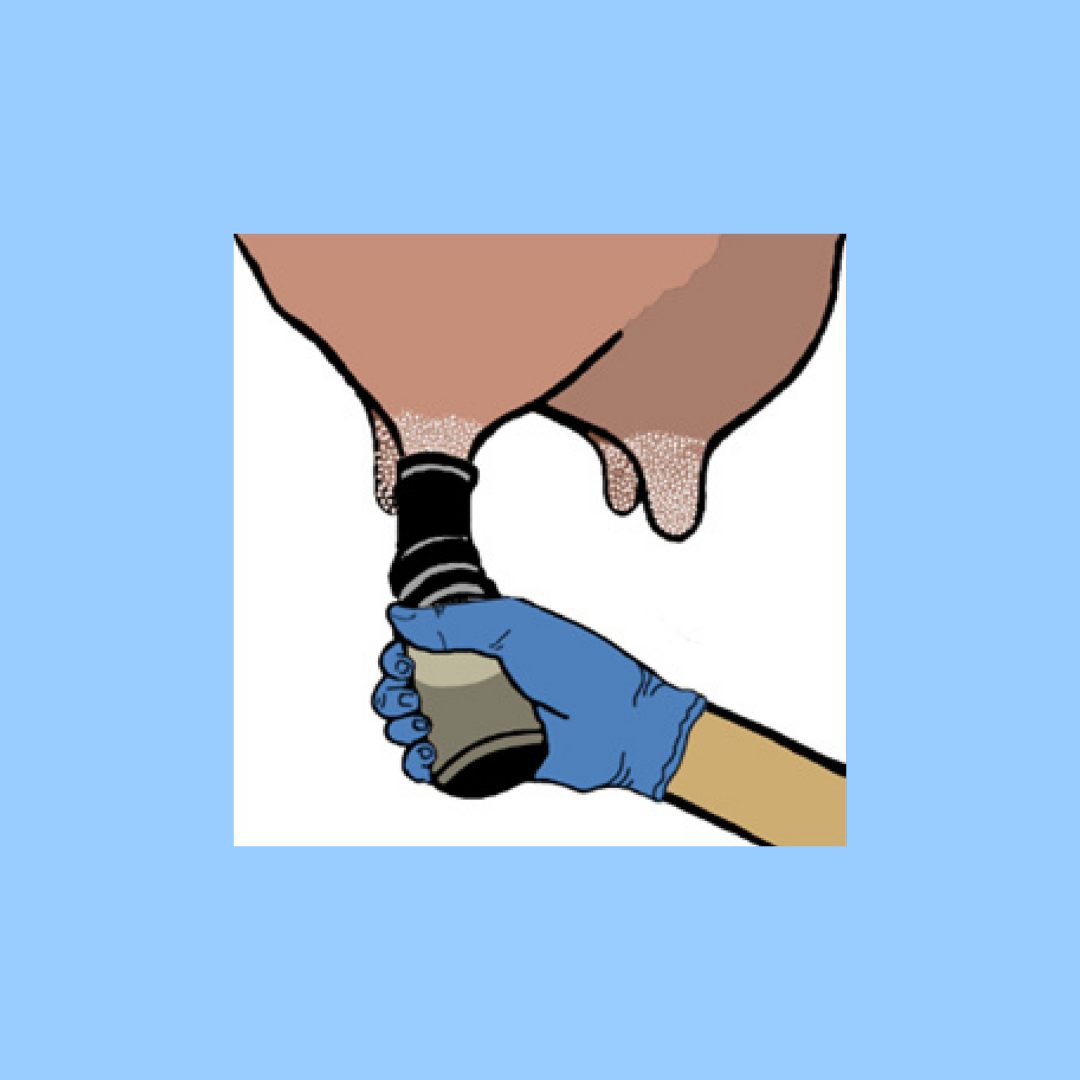
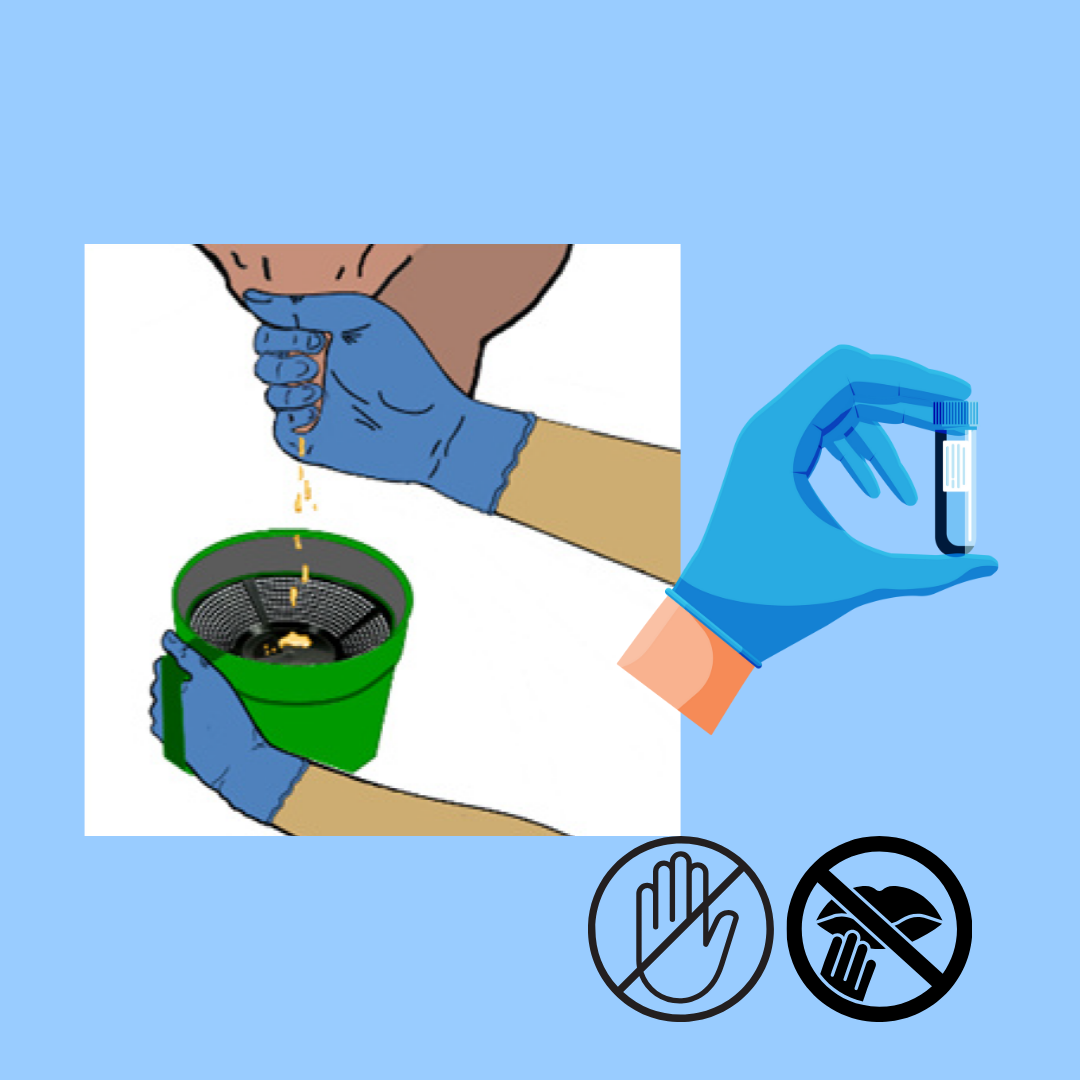
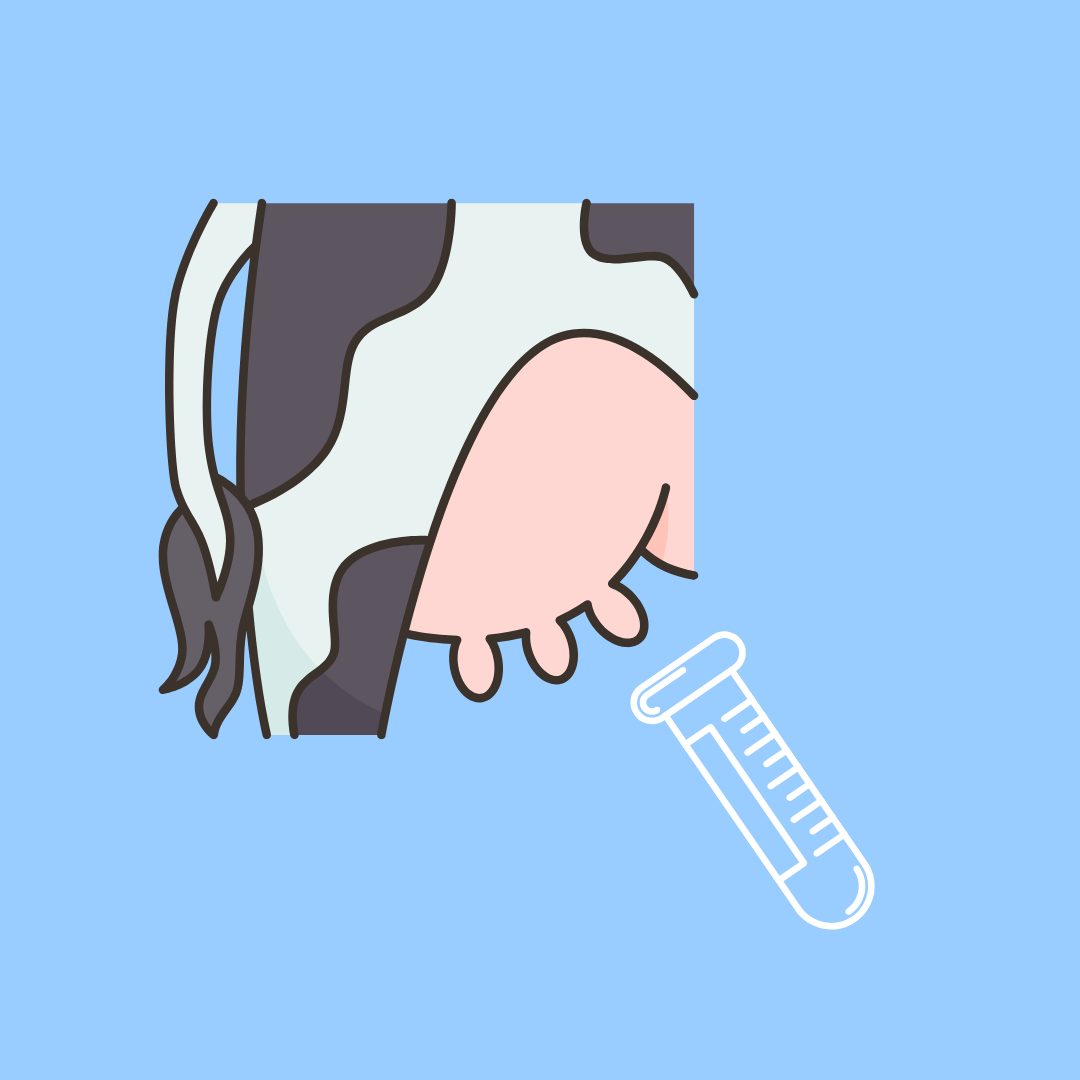
Milk sampling
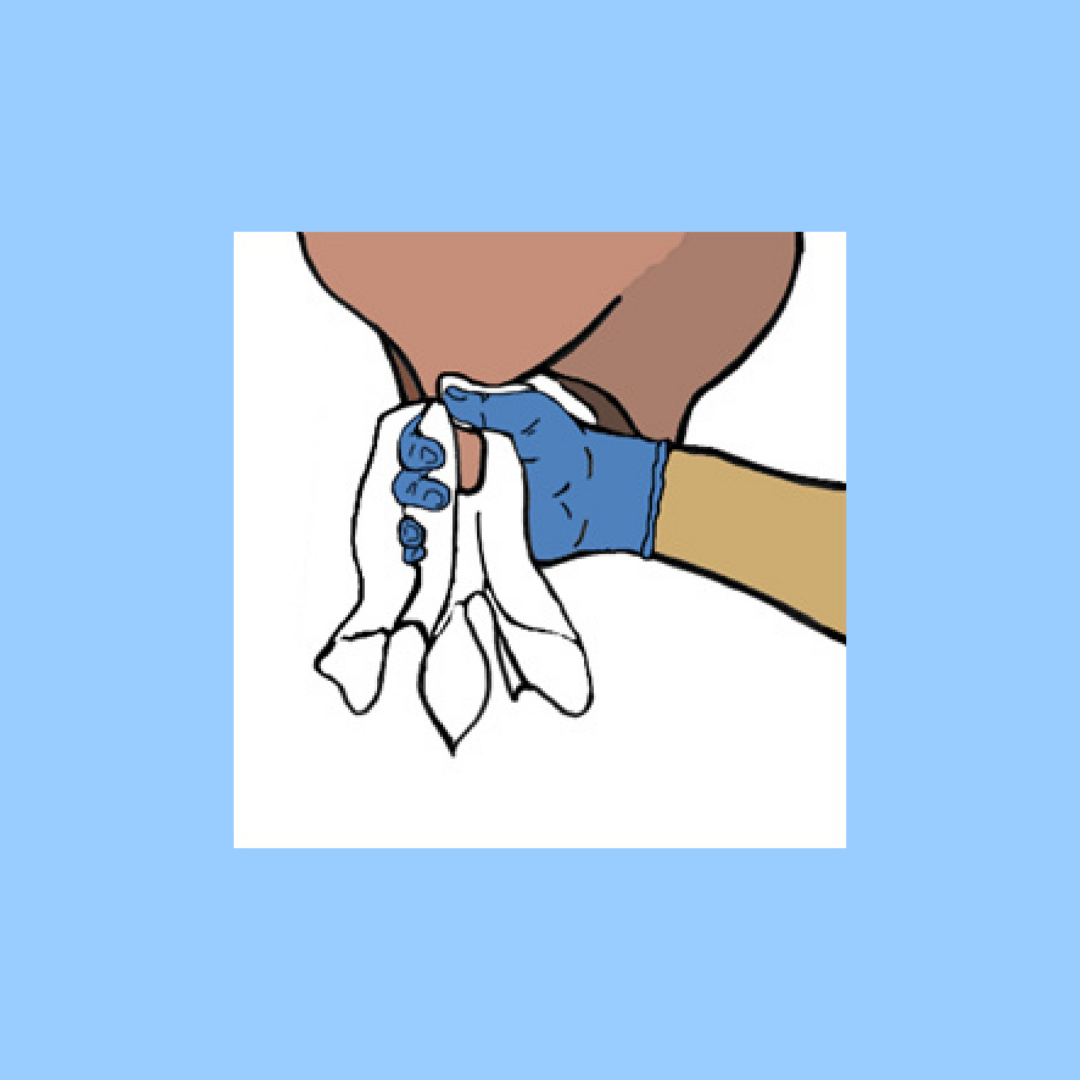
To ensure you obtain a representative sample, you must take care to work as cleanly as possible when collecting the sample – it’s best to do this in pairs!
Material
- New disposable gloves
- Labelled sample tubes
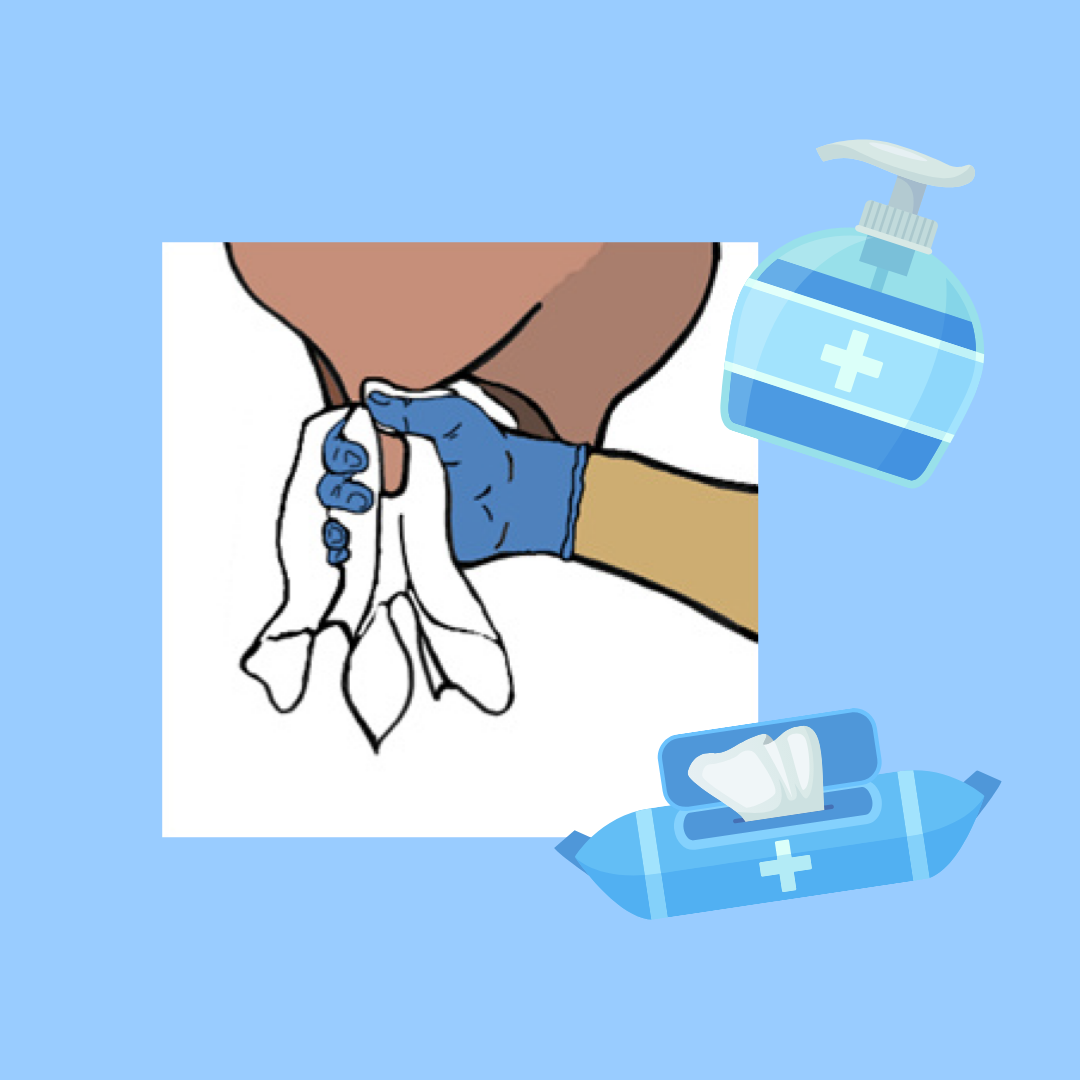
- Clean pre-cleaning cloth
- Disinfectant wipes or cotton wool and alcohol for teat disinfection
Procedure
Note: Sampling takes place immediately before milking!
Milk sampling


For farms that use an automatic milking system (AMS), there are also other points to bear in mind:
Work procedure for AMS farms
There is no actual milker in a robotic milking system; however, someone must be responsible for monitoring the animals and the AMS, and must follow these procedures:
Daily tasks
Checking the AMS
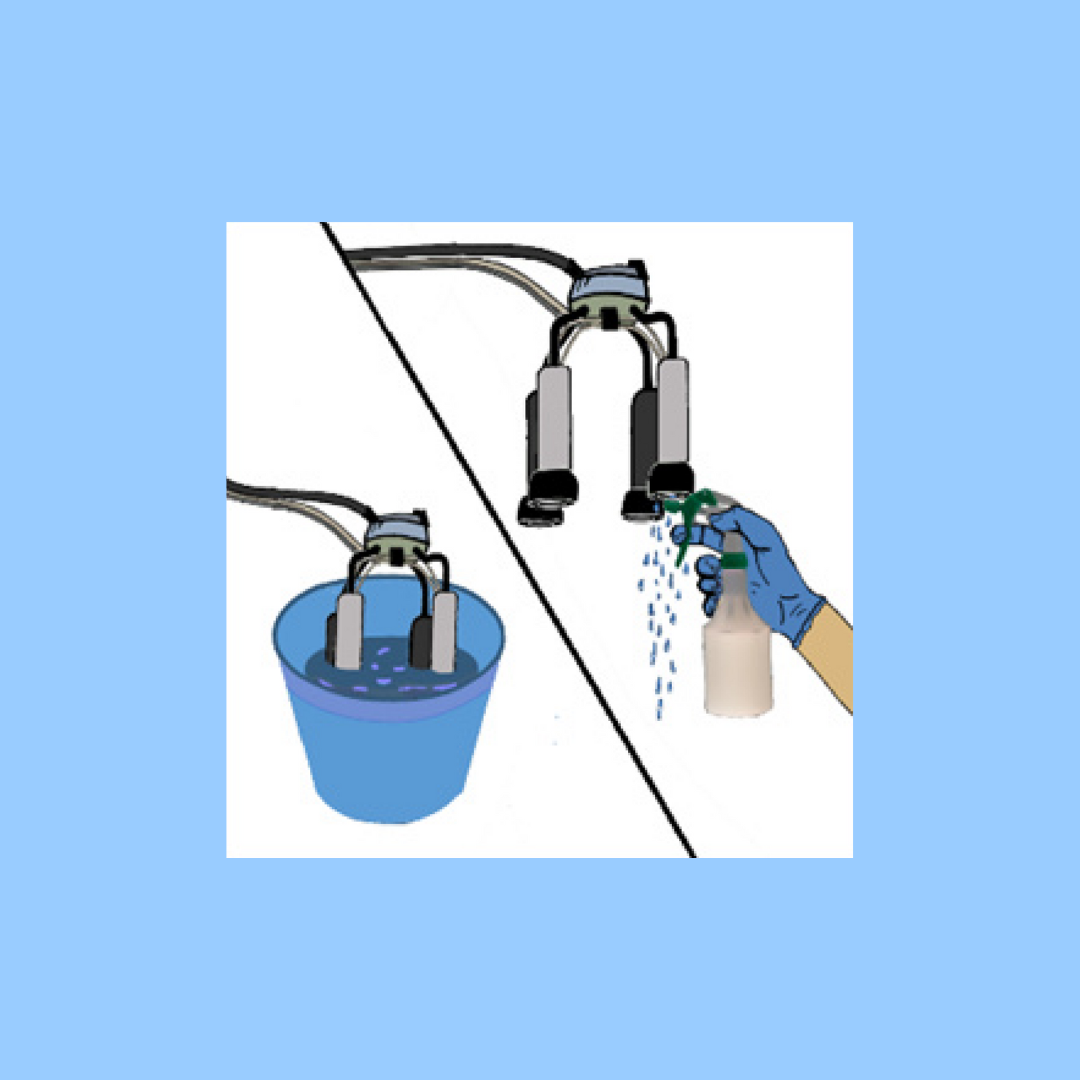
- Are all the steps in the milking process working properly (pre-cleaning, milking, dipping)?
- Are the pre-cleaning system, the intermediate disinfection of the teat cups and their cleaning after milking working properly?
Tasks to be carried out twice daily
Checking the alarm list(s)
- Compile a list of animals for inspection/follow-up/treatment if necessary
Animal monitoring, follow-up checks and treatments
- Carry out follow-up checks and, if necessary, determine the reason for the delay
- Carry out treatments after milking
Cleaning the AMS and the surrounding area
- Pay particular attention to all parts that may come into contact with the animal and the camera
Quiz to check your understanding